Resolved
![]() In this VPS Tutorial we will show you how-to Setup Webmin on a VPS or Dedicated Server and then access it securely. Webmin is a popular control panel for Unix and Linux Servers. Originally released in 1997, It allows easy management of most common configuration tasks for a server.
In this VPS Tutorial we will show you how-to Setup Webmin on a VPS or Dedicated Server and then access it securely. Webmin is a popular control panel for Unix and Linux Servers. Originally released in 1997, It allows easy management of most common configuration tasks for a server.
There is really nothing exclusive about setting up Webmin on a VPS versus a Dedicated server so you can use this tutorial for either type of server.
[adrotate banner=”2″]
The first thing you will need is a VPS. We recommend ZoomCloud.net‘s VPS systems. Ok enough advertising, ;-)
Next you will need to download and install webmin and its some dependancies. Following these instructions you will have Webmin up and running in no time, and it will be secure as well.
Downloading and Installing Webmin
Webmin is available for many different flavors of OS at www.webmin.com. For this VPS Tutorial, we are going to use the RPM packaged version and will be installing on CentOS 6.
[user@testing ~]# wget http://prdownloads.sourceforge.net/webadmin/webmin-1.670-1.noarch.rpm
Webmin is written in perl so it will require that be installed along with some other modules and dependancies. As root use Yum to install the RPM so it also installs all those required dependencies for you.
[root@testing ~]# yum install webmin-1.670-1.noarch.rpm
You will get an output something along these lines:
Dependencies Resolved
==================================================================================================================================================
Package Arch Version Repository Size
==================================================================================================================================================
Installing:
webmin noarch 1.670-1 /webmin-1.670-1.noarch 60 M
Installing for dependencies:
perl x86_64 4:5.10.1-136.el6 base 10 M
perl-Module-Pluggable x86_64 1:3.90-136.el6 base 40 k
perl-Pod-Escapes x86_64 1:1.04-136.el6 base 32 k
perl-Pod-Simple x86_64 1:3.13-136.el6 base 212 k
perl-libs x86_64 4:5.10.1-136.el6 base 578 k
perl-version x86_64 3:0.77-136.el6 base 51 k
Transaction Summary
==================================================================================================================================================
Install 7 Package(s)
Total size: 71 M
Total download size: 11 M
Installed size: 95 M
Is this ok [y/N]: y
Downloading Packages:
(1/6): perl-5.10.1-136.el6.x86_64.rpm | 10 MB 00:01
(2/6): perl-Module-Pluggable-3.90-136.el6.x86_64.rpm | 40 kB 00:00
(3/6): perl-Pod-Escapes-1.04-136.el6.x86_64.rpm | 32 kB 00:00
(4/6): perl-Pod-Simple-3.13-136.el6.x86_64.rpm | 212 kB 00:00
(5/6): perl-libs-5.10.1-136.el6.x86_64.rpm | 578 kB 00:00
(6/6): perl-version-0.77-136.el6.x86_64.rpm | 51 kB 00:00
--------------------------------------------------------------------------------------------------------------------------------------------------
Total 5.7 MB/s | 11 MB 00:01
Running rpm_check_debug
Running Transaction Test
Transaction Test Succeeded
Running Transaction
Installing : 1:perl-Pod-Escapes-1.04-136.el6.x86_64 1/7
Installing : 4:perl-libs-5.10.1-136.el6.x86_64 2/7
Installing : 1:perl-Pod-Simple-3.13-136.el6.x86_64 3/7
Installing : 3:perl-version-0.77-136.el6.x86_64 4/7
Installing : 1:perl-Module-Pluggable-3.90-136.el6.x86_64 5/7
Installing : 4:perl-5.10.1-136.el6.x86_64 6/7
Installing : webmin-1.670-1.noarch 7/7
Operating system is CentOS Linux
Webmin install complete. You can now login to http://testing:10000/
as root with your root password.
Verifying : 1:perl-Module-Pluggable-3.90-136.el6.x86_64 1/7
Verifying : 1:perl-Pod-Escapes-1.04-136.el6.x86_64 2/7
Verifying : 4:perl-5.10.1-136.el6.x86_64 3/7
Verifying : 4:perl-libs-5.10.1-136.el6.x86_64 4/7
Verifying : 1:perl-Pod-Simple-3.13-136.el6.x86_64 5/7
Verifying : 3:perl-version-0.77-136.el6.x86_64 6/7
Verifying : webmin-1.670-1.noarch 7/7
Installed:
webmin.noarch 0:1.670-1
Dependency Installed:
perl.x86_64 4:5.10.1-136.el6 perl-Module-Pluggable.x86_64 1:3.90-136.el6 perl-Pod-Escapes.x86_64 1:1.04-136.el6
perl-Pod-Simple.x86_64 1:3.13-136.el6 perl-libs.x86_64 4:5.10.1-136.el6 perl-version.x86_64 3:0.77-136.el6
Complete!
[root@testing ~]#
The important part to that output is this line: Webmin install complete. You can now login to http://testing:10000/ as root with your root password.
[adrotate banner=”2″]
My VPS’s hostname is testing but I don’t have it configured in DNS yet, so the link is a bit misleading. For now if you don’t have DNS setup either, browse to the ip address instead i.e. http://123.123.123.123:10000.
Once you browse to the IP and port, you should get a logon page for webmin that looks like this:
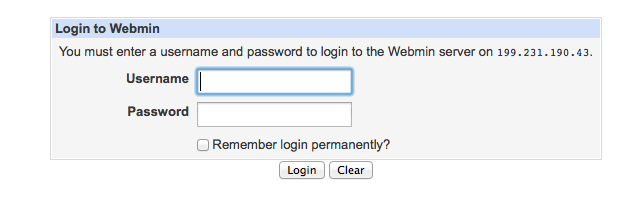
Logon as root with your root password. And you will be brought to the main Webmin screen.
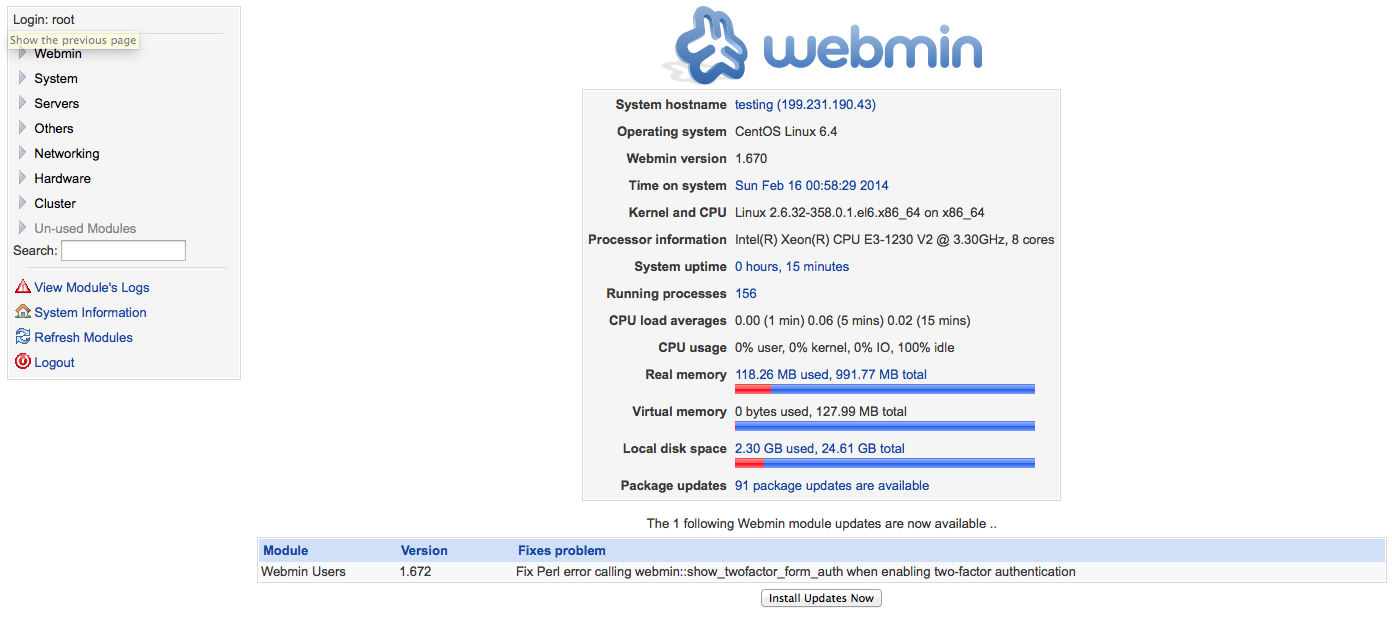
As you can see there is an update available for Webmin users at the time I am writing this, so just click the button labeled “Install Updates Now” and let that compete. Next we will move on to locking it down and securely accessing webmin.
Securing Webmin
For security reasons, we don’t like leaving webmin open to the internet. You will have an endless stream of people trying to brute force their way into webmin. To keep access secure and brute forcers at bay we block the port used by webmin in IP Tables, TCP port 10000, and instead we will access webmin’s port over an SSH tunnel that forwards TCP port 10000.
We will assume you already know how to block and open ports using IPTables. If you need to learn how to secure your VPS using IPTables, take a look at our previous VPS Tutorial on that exact subject.
To access webmin over a port forward use the following command replacing 123.123.123.123 with your servers IP address.
ssh 123.123.123.123 -L 10000:123.123.123.123:10000
Now to access webmin open your Web Browser and goto http://127.0.0.1:10000. You can then logon with the root password as you did before. Now all the traffic is going over the SSH tunnel and is encrypted.
[adrotate banner=”2″]
You should always take security considerations when using webmin. Webmin is a great AND powerful control panel that can manage just about anything on your server. It would be a hackers dream to get access to this, and they could do untold amounts of damage to your systems.
Enjoy using Webmin Securely!
-Tutor
Leave a Reply